Adding CA Cert root and personal certificates to your iPhone, iPod or iPad
The only requirement to add certificates to your iOS device is that it MUST be running iOS 5.0 or later.
Go to the CACert website (https://www.cacert.org/) using Internet Explorer
Click the ROOT CERTIFICATE link in the menu on the right (https://www.cacert.org/index.php?id=3)
- Install the Class 1 PKI Key using the PEM format
- Install the Class 3 PKI Key using the PEM format
- Log in to the CACert site
- Expand the CLIENT CERTIFICATES menu and select NEW
- Add your email address, sign by class 1 root certificate, select your name, enable login using the certificate, and select the single sign-on if desired.
- Click NEXT
- Select Microsoft Strong Cryptographic Provider and click CREATE CERTIFICATE
- Install certificate in the PERSONAL store inside Internet Explorer. DO NOT let the installer pick the "right" location for you!
Download and install the iPhone Configuration Utility (Mac or Windows) from the Apple Enterprise Support page (http://www.apple.com/support/iphone/enterprise/)
- Run the iPhone Configuration Utility
Select CONFIGURATION PROFILES on the left
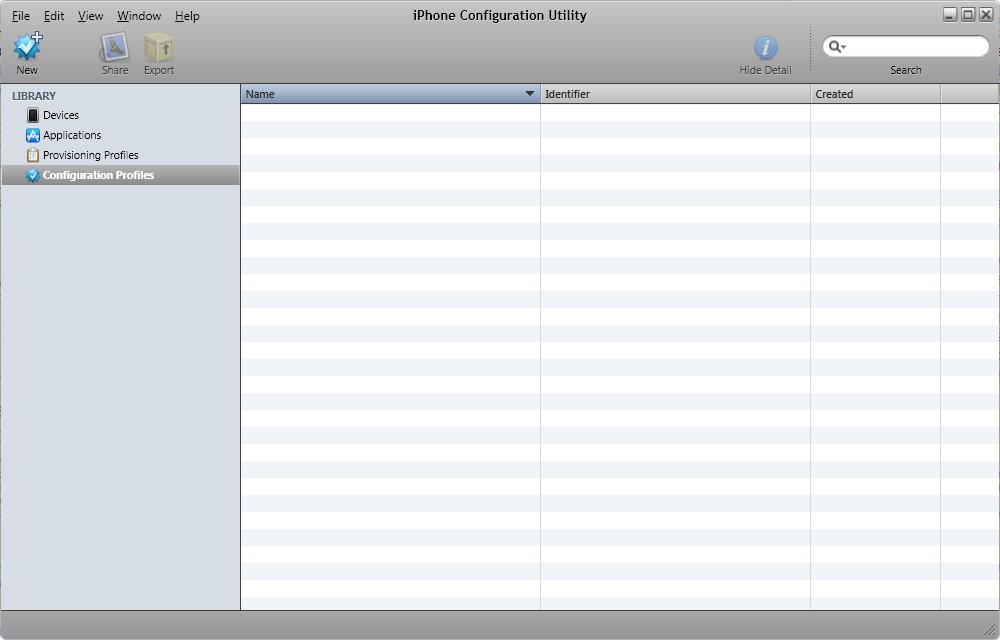
- Click the NEW button at the top
- Select the GENERAL page
Provide a name in the IDENTIFIER box. This is only a label but must be unique if you make more than one profile.
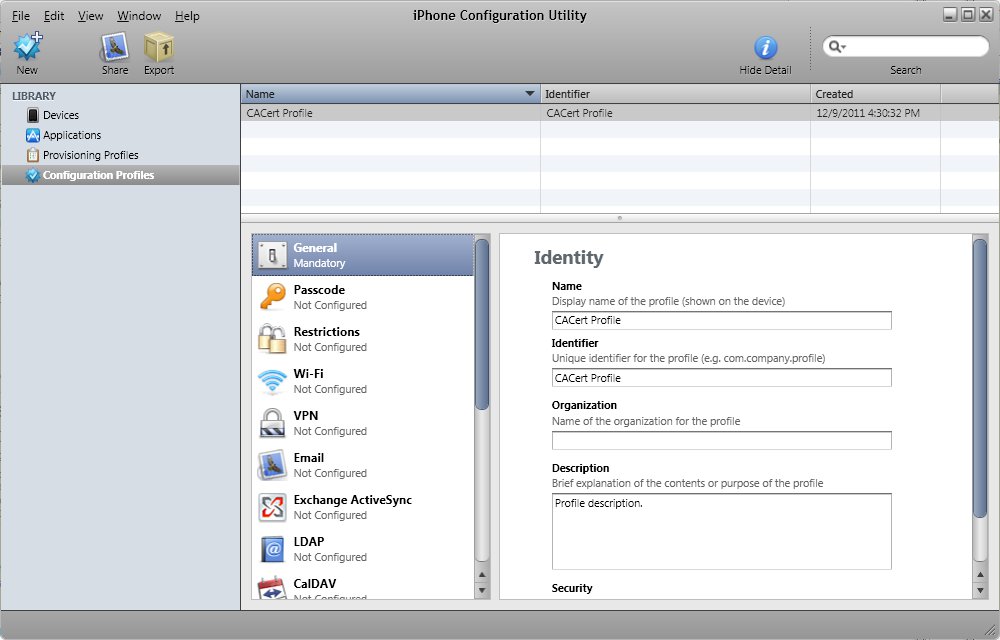
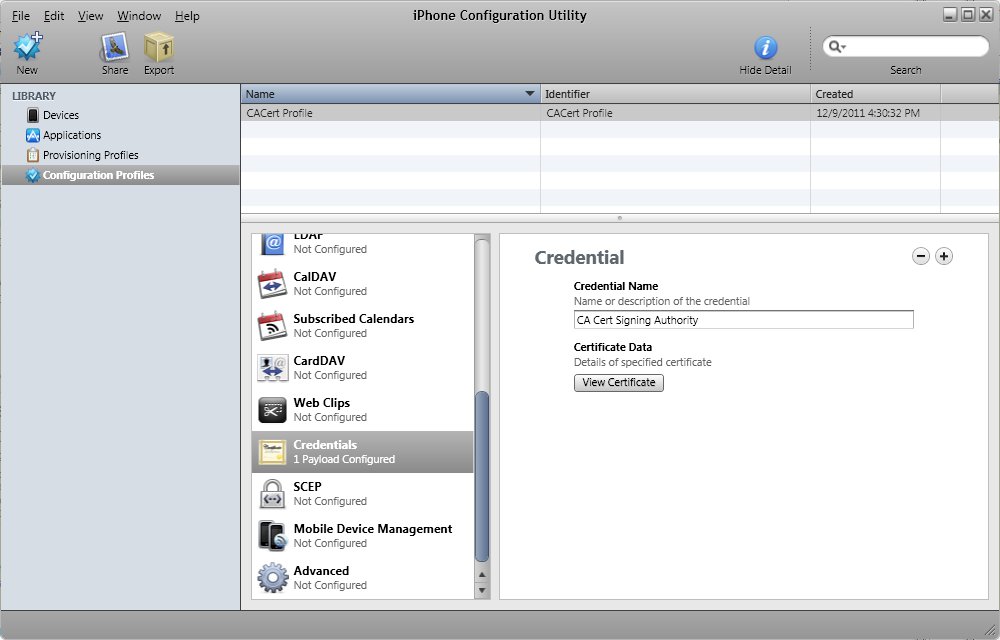
Scroll the pages menu and click on the CREDENTIALS page
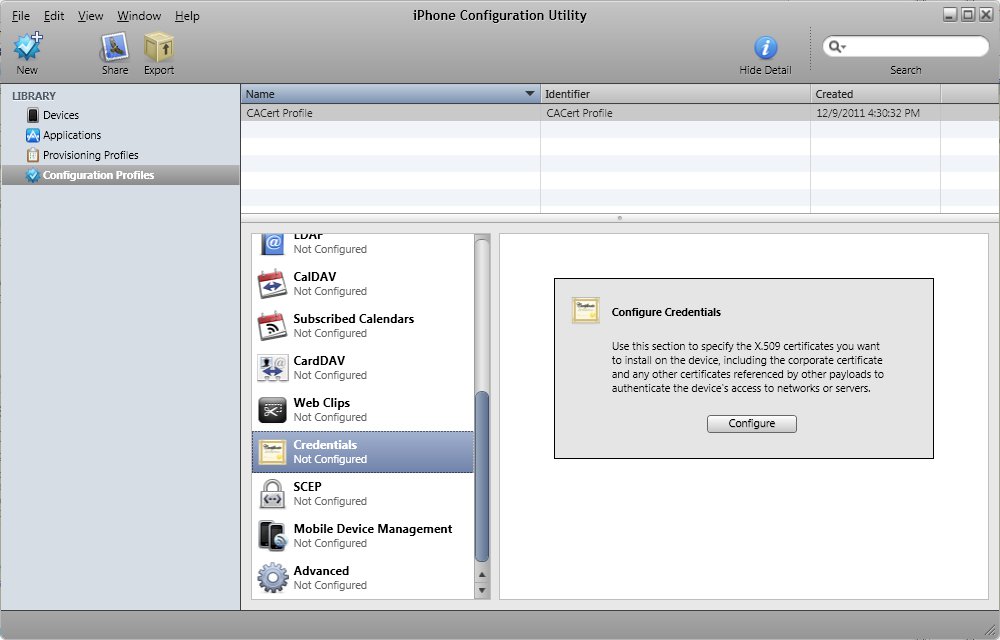
- Click CONFIGURE
Pick the CACert certificate called "CA Cert Signing Authority" and click OK. This is the Class 1 certificate.
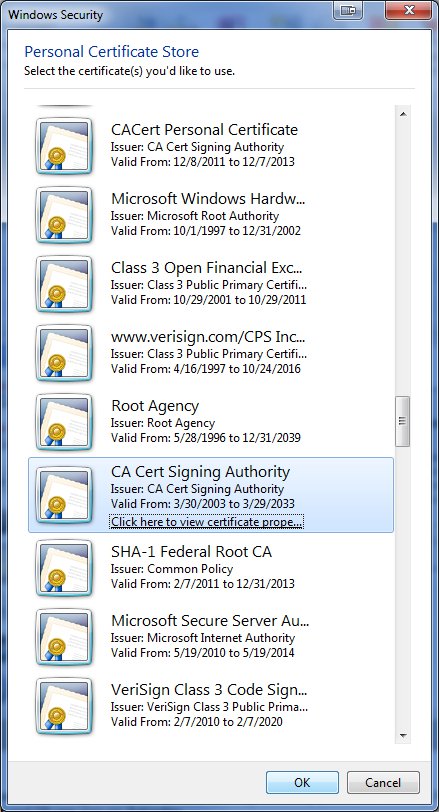
Click the + to the right of the CREDENTIAL title to allow adding another certificate.
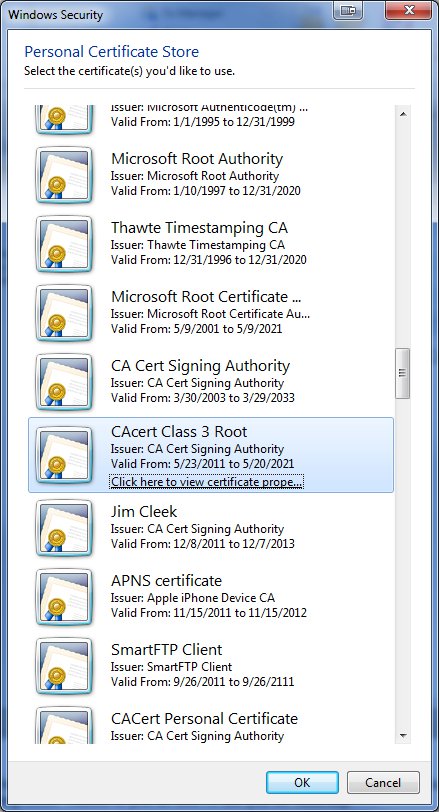
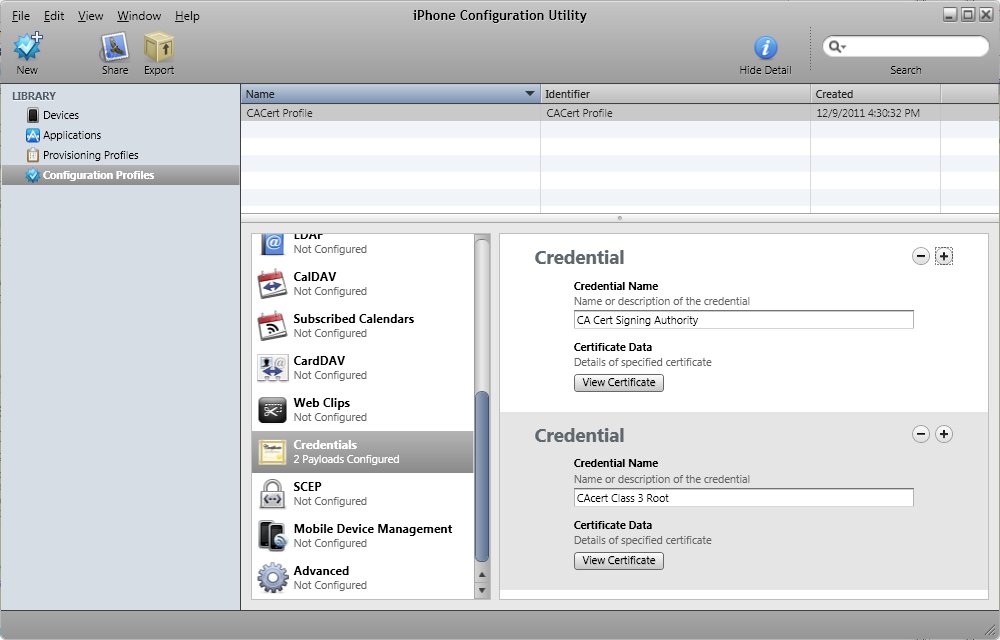
Pick the CACert certificate called "CA Cert Class 3 Root" and click OK. This is the Class 3 certificate.
Click the + to the right of the CREDENTIAL title to allow adding another certificate.
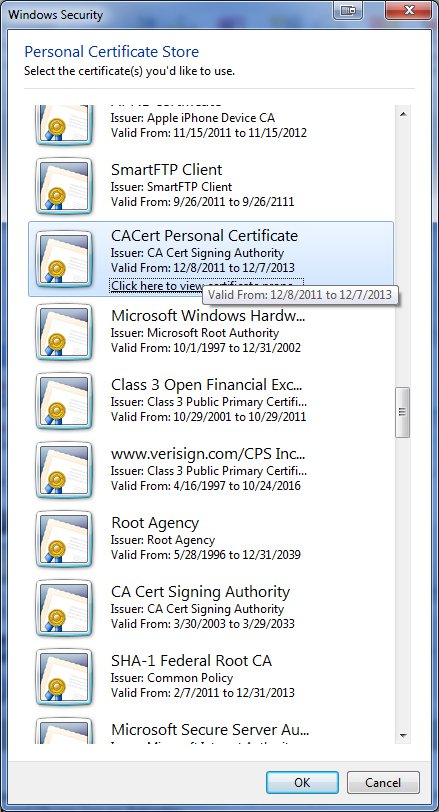
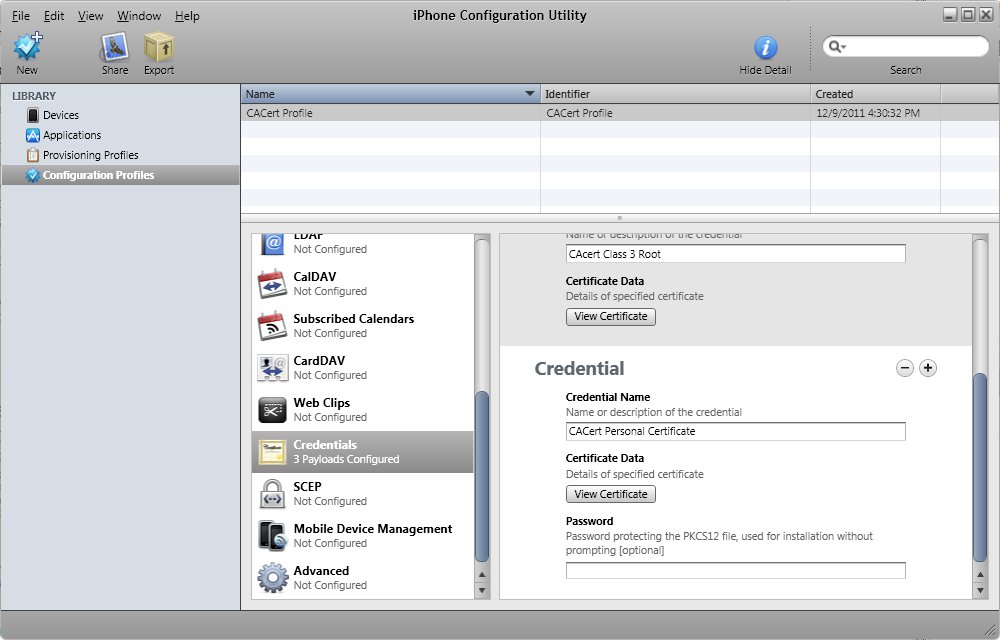
Pick your personal email certificate and click OK.
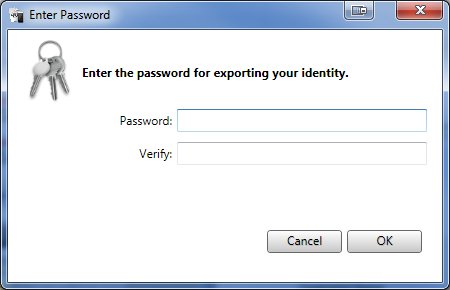
When prompted, enter and verify the password you want to use to secure your personal certificate. Remember what you make up as you will need it later.
You will see your personal certificate listed now.
Now you need to add your Email account information. These instructions include an Exchange account. Click the EXCHANGE ACTIVESYNC page.
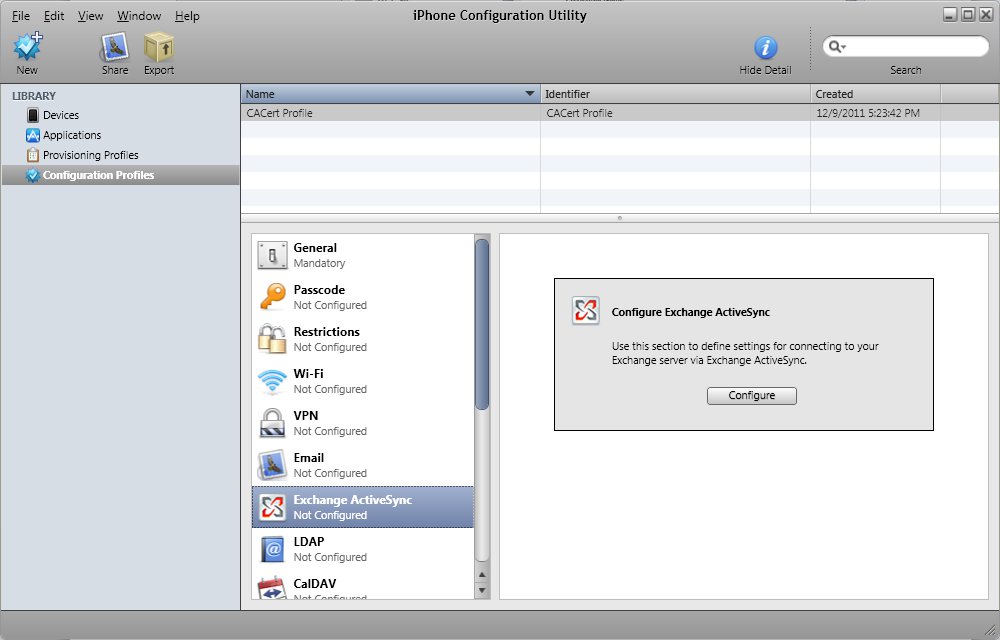
Click CONFIGURE
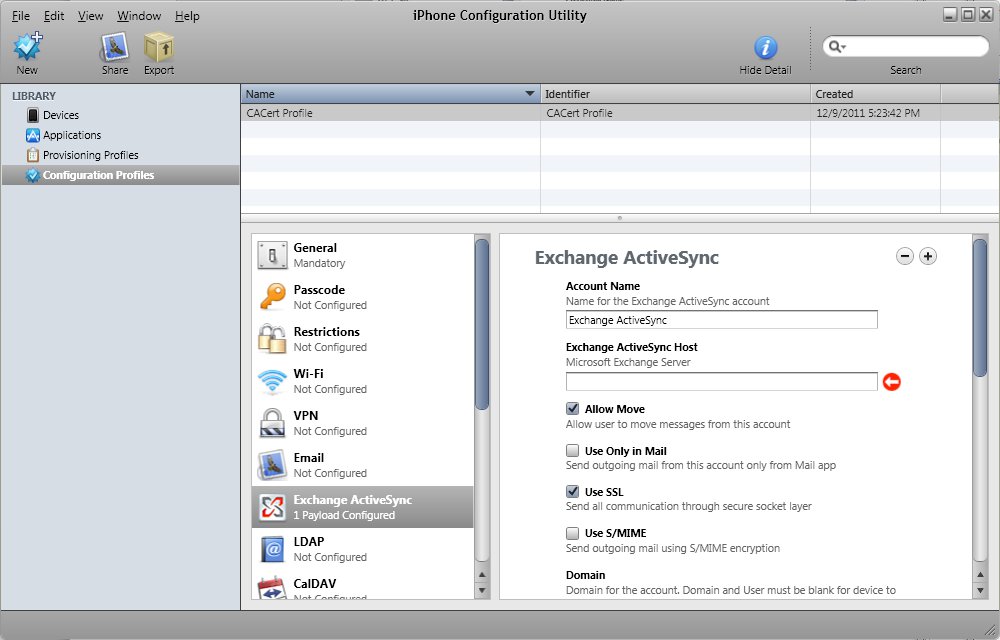
Change the account name if you like. Enter the exchange server name, like mail.domain.com
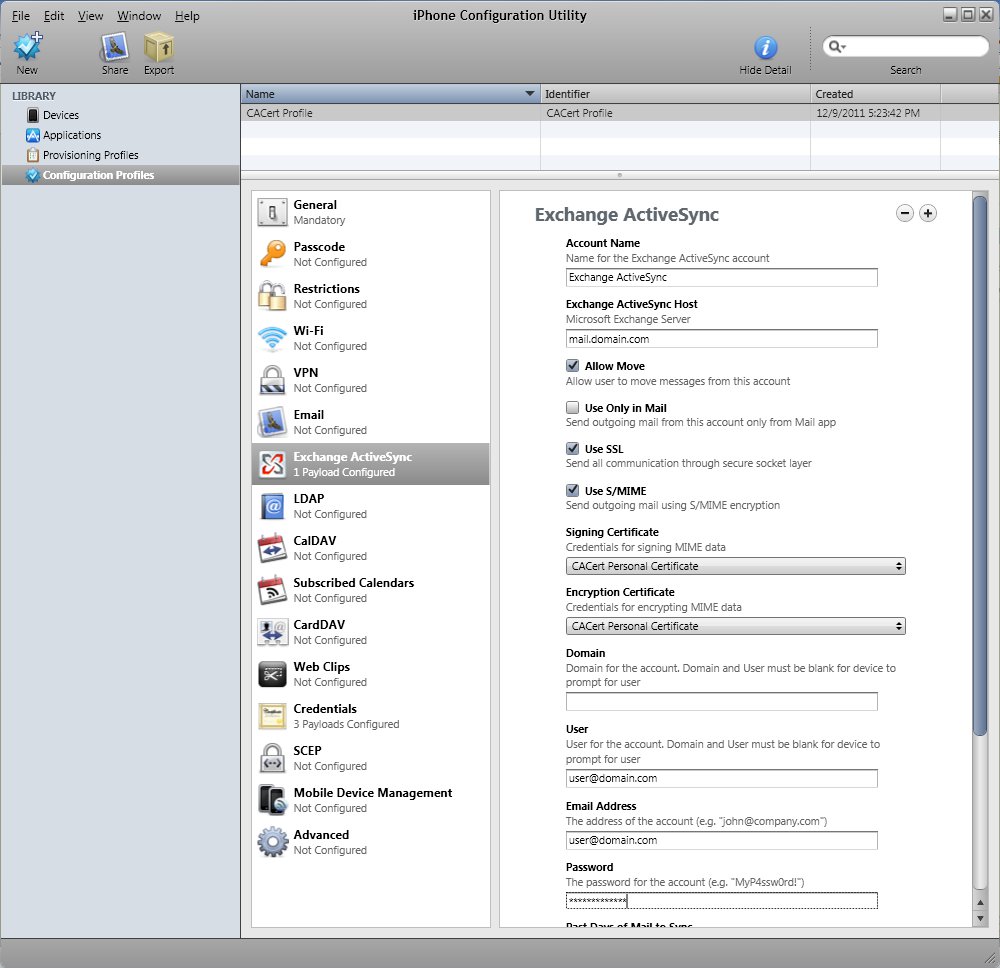
- Check USE S/MIME
- Select your personal certificate from the pick list for SIGNING CERTIFICATE if you want to sign emails (note: ALL emails will be signed)
- Select your personal certificate from the pick list for ENCRYPTION CERTIFICATE if you want to encrypt emails (note: ALL emails will be encrypted)
- Enter the user ID, email address and password
- Select number of days to sync
- Now you need to send this to your phone. You can export the profile and get it on the iPhone, iPod, or iPad through iCloud, Dropbox, etc. or email it to yourself. Click FILE and then either EXPORT or EMAIL
Ensure SIGN CONFIGURATION PROFILE is selected and click EXPORT or SHARE depending on whether you are exporting or emailing the file.
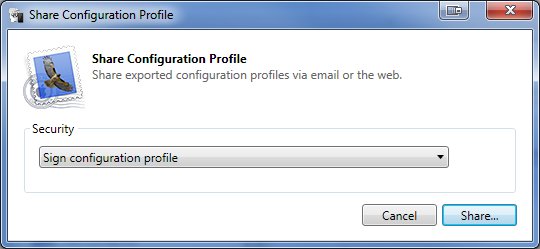
Once you have the profile on your iOS device, open it.
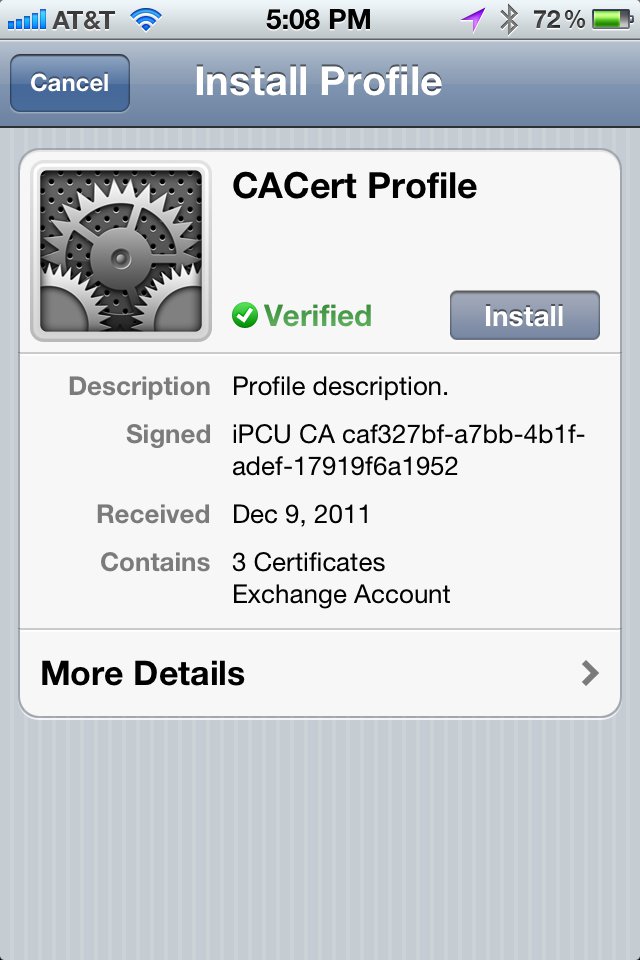
- It may say VERIFIED or NOT VERIFIED. Either way, click INSTALL
- You will be asked for your device PIN. If you don't have one set, you will have to make one.
Once installed you are finished! Every email you send with this mail account will be signed and/or encrypted, depending on how you set the ActiveSync portion of the profile.
If you want to undo the profile on your iOS device:
Open SETTINGS -> GENERAL -> PROFILE
- If you have only one profile it will open automatically. If you have more than one you need to select the one you want to delete from the list.
- Click REMOVE
- Click REMOVE
- Enter your PIN when prompted
Using the iPhone Configuration Utility you can set up a lot more than just certificates. You can configure WiFi connections, VPN, restrictions, and a lot more. Play around with it and see how easy it is to use to configure your iOS device. But if you want to reinstall a profile after you make changes, you must delete the old one from the iOS device and get the new profile back on it and install it.
